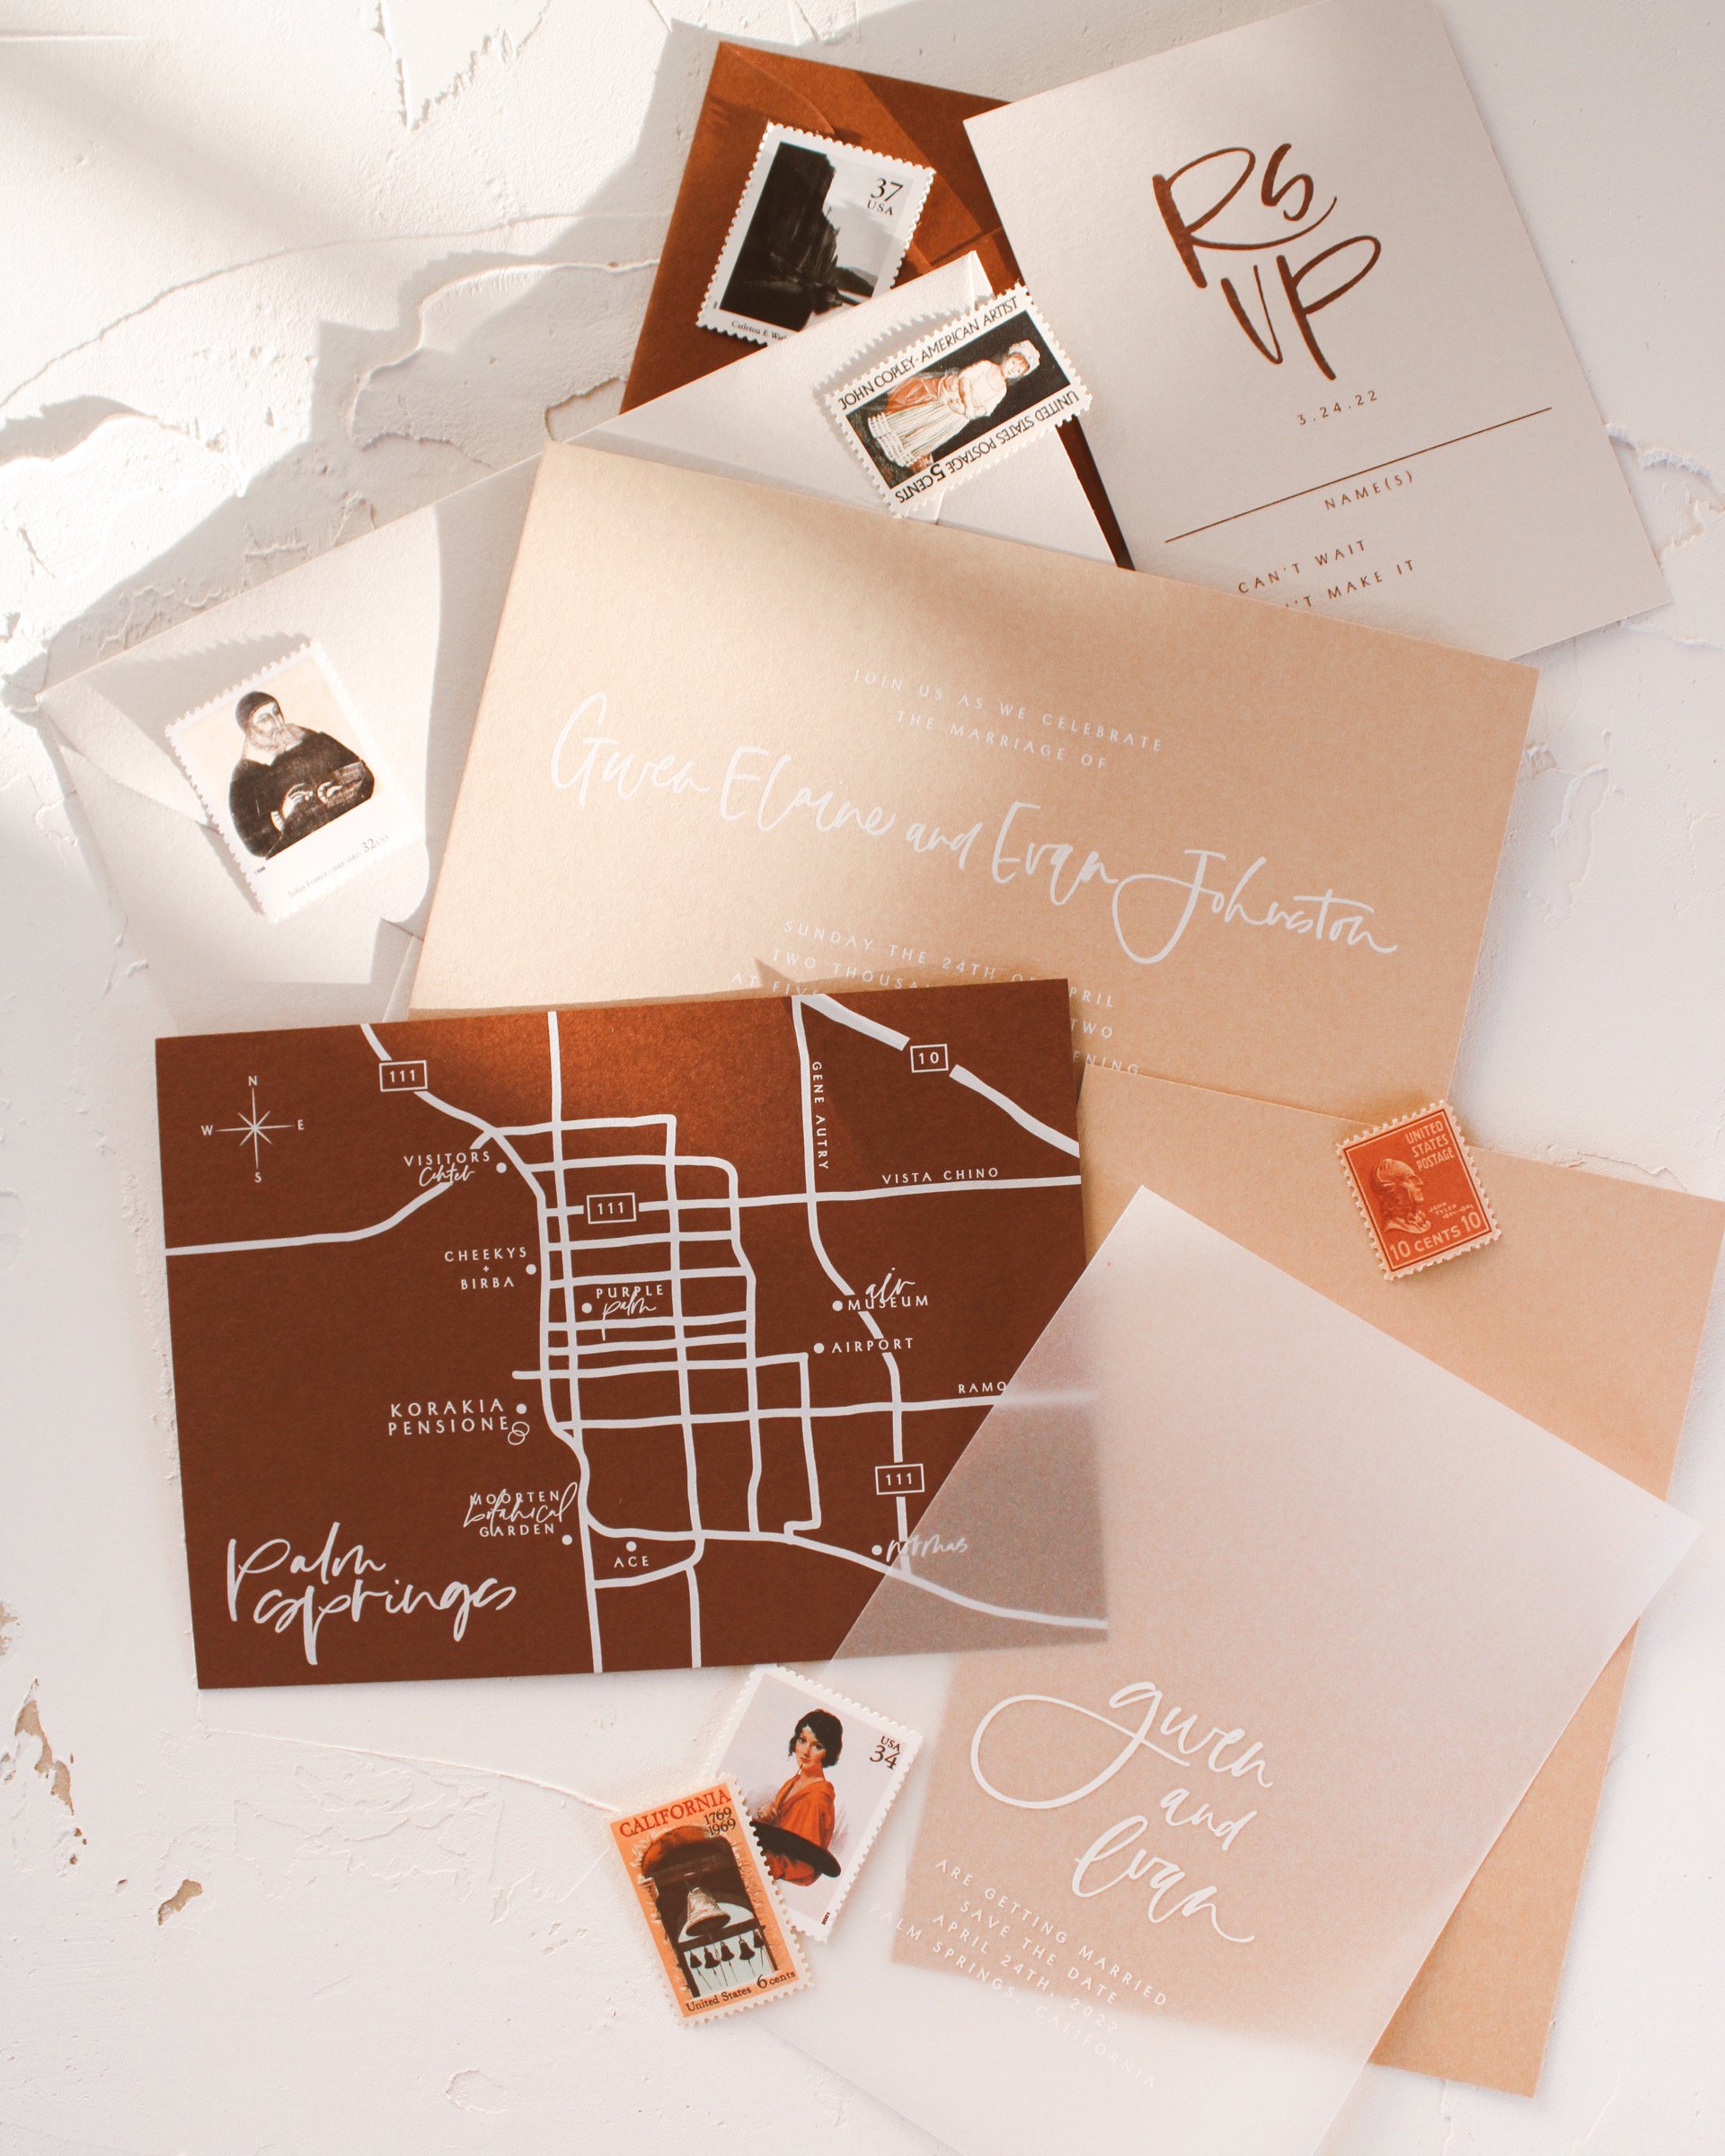
How to Decipher Print Sizes + What are Bleeds?

No matter how long I've been working on stationery, I cannot seem to memorize all of the different print sizes. And if I can, I second guess myself, especially when trying to add bleeds when we are prepping for print (and I'll get to that if you don't know what it is!). So to help myself, and dive a little deeper into the preparing files for print, I created a guide to print at home and hang on my wall so I never have to do math again;)

Before we dive into all of the different sizes, and where they're used, let's talk verbiage that you should probably know. When I sent my first job to print, it was a wreck, I had no idea what I was doing. It was set up all wrong, the size was wrong, and there's different paper?! How far I've come... I literally had to google the entire email back from my printer because there were terms he was using that I had never heard of.
I think there are 5 important things to know before you send to print:
Trim size, this is the actual size your finished product will be. Doing a standard 5x7 invitation? Then your trim size is 5" x 7"
Safe zone, this is the size you'll want to design inside of, so basically NO text outside of this. The only time you should go outside of it is if you have illustrations, tails of letters, or lines bleeding off the edge. Some people are okay with 1/8" but I always keep 1/4" in from each edge. Just set up your rulers on your files to make sure you're staying inside of the guidelines you set.
Bleeds, this is extra space (1/4" total, 1/8" on each side) you will add to the outer edges of your file when you send to print. When I started out, I forgot to put this extra space on EVERY time. I'm sure my printer hated me. Anyways, what this does is ensure that if you have art that is bleeding off the edge, your printer won't cut slightly to one side and leave a white space between the edge of the paper and your art. I design in the standard size, and before I send to print, increase the artboard or canvas size to 1/4" larger than neccessary.
Print specs, this is how you want to set up your file so that it prints correctly with high quality images/text. Digitally printed items should always be set up with a CMYK color profile. CMYK is for printing, RGB is for web images... I'm still learning a lot about this but I learned the hard way and didn't pay attention. I set up files as RGB that looked AMAZING on my screen. The printed pieces on the other hand, were not anywhere close, color-wise. You'll also want to make sure if you are working in photoshop (with scanned illustrations or hand lettering), your files are set up at 300dpi. Anything less can result in poor quality and pixelated images.
Export as a hi-res PDF. You can merge your layers if your printer is printing a flat image, this will make the files smaller and easier to send. Or, you can leave the settings on so that your printer can open in the program you're using and move/edit things if necessary. If you're are doing this, outline your text to ensure it isn't changed if they open the file and don't have your font.
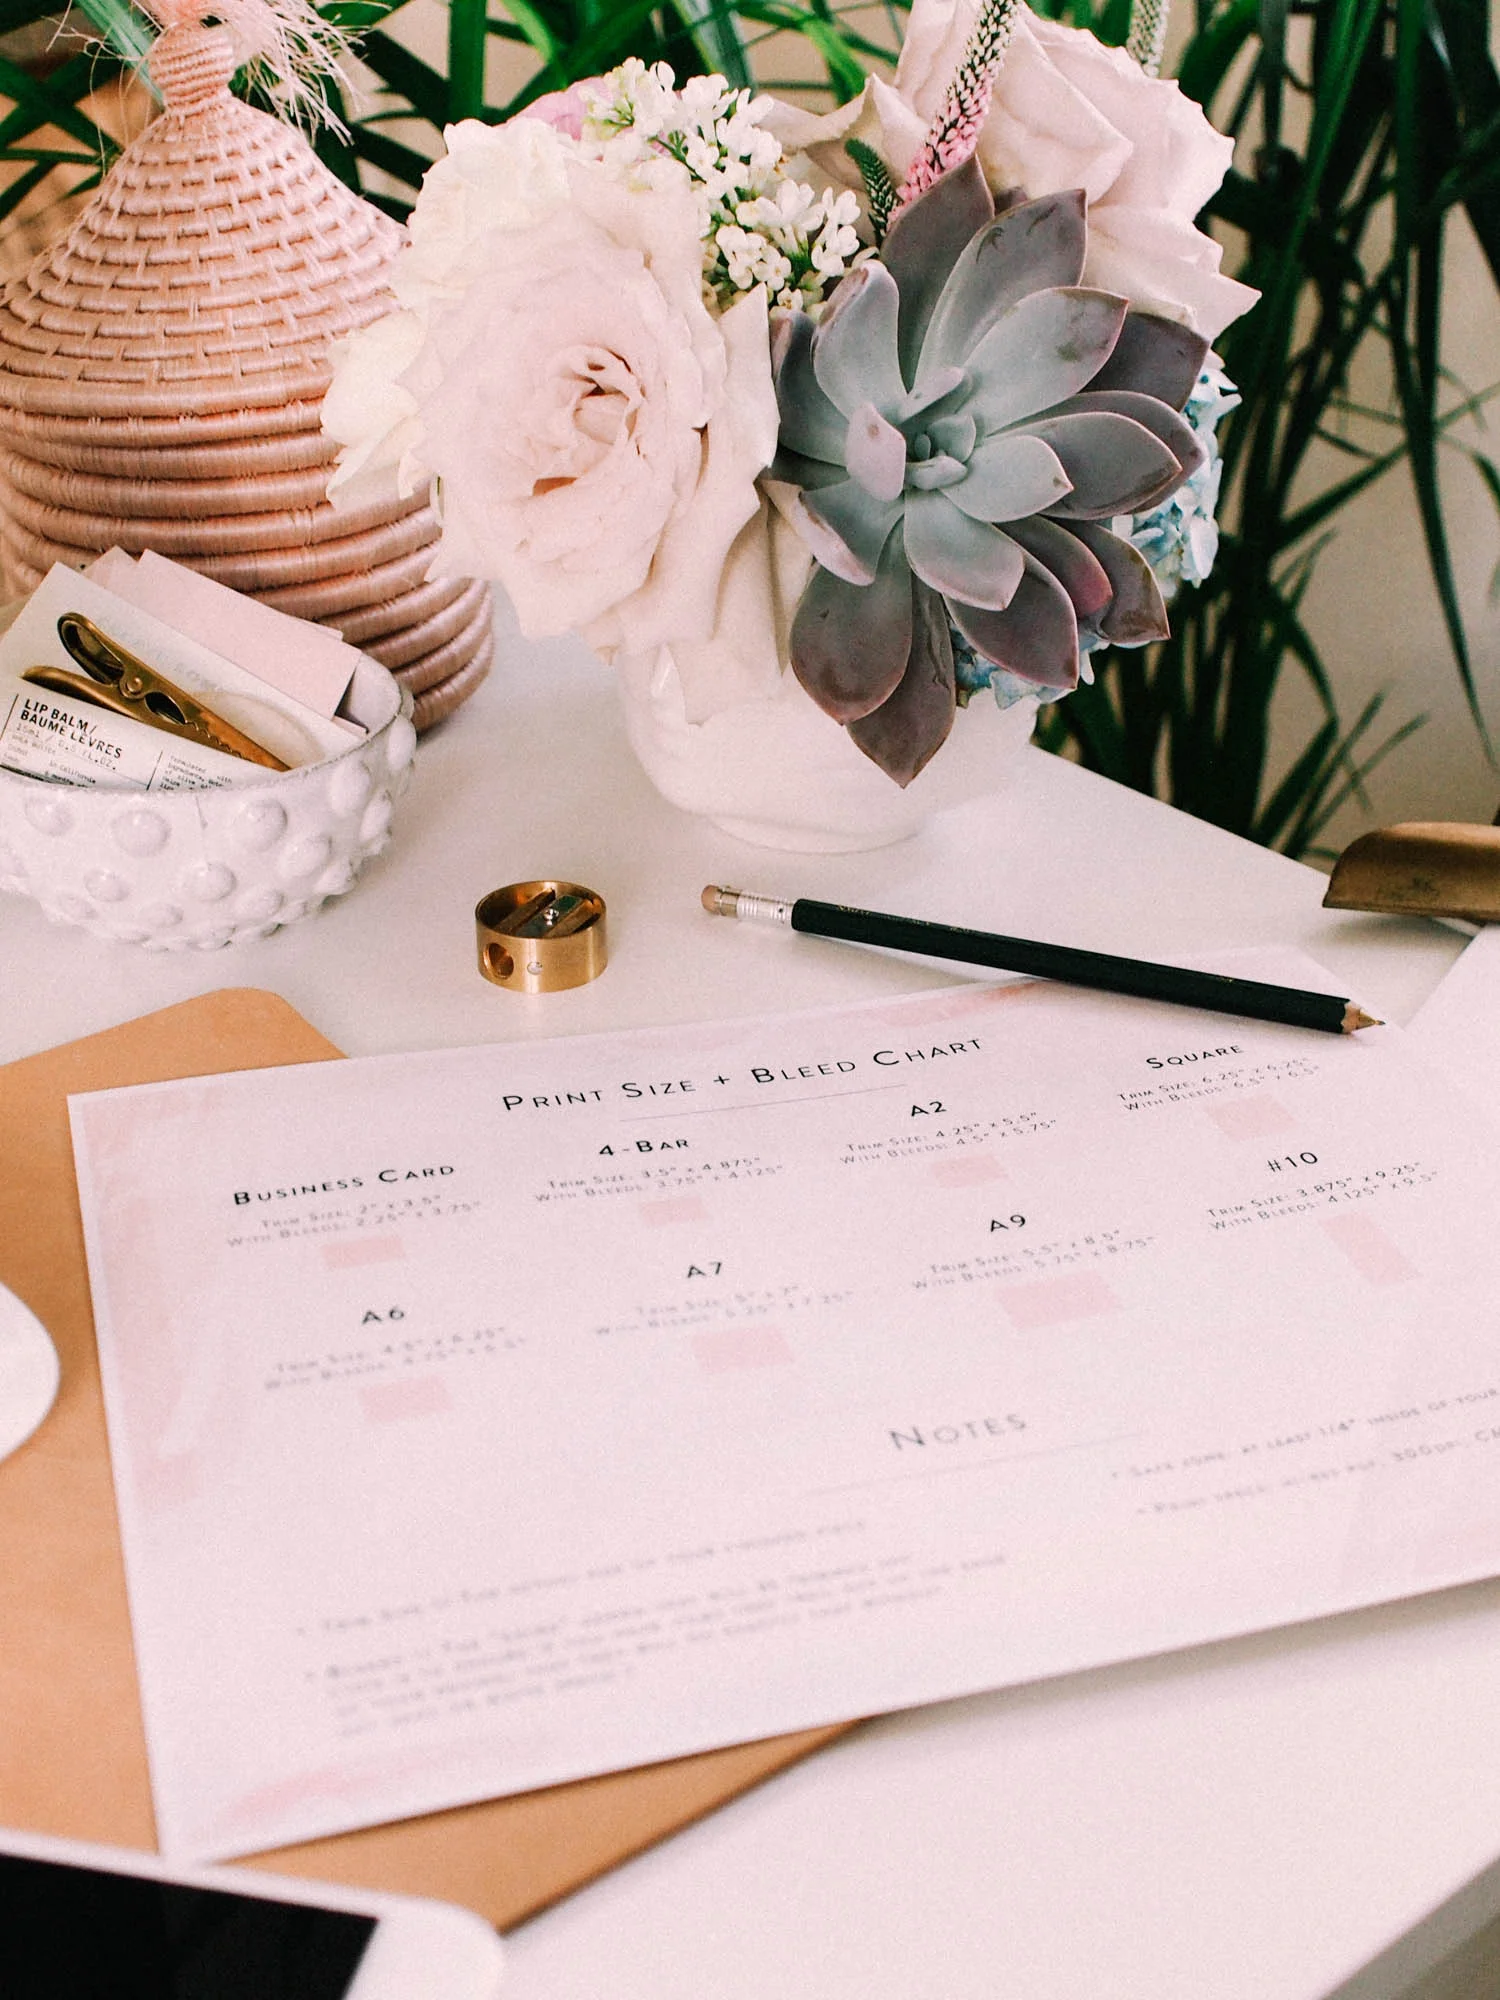
Okay, on to the fun stuff... MEASUREMENTS! I created this chart to show the most common sizes we use, from smallest to largest. It shows the trim/actual size as well as what it will be when you add the bleeds. Never wonder again if you did your math correctly!

Hopefully now, you can either print your first pieces with confidence... or just have a pretty reminder on those confusing sizes;) Another tip to remember on sizing, with Adobe, you can easily set up and save templates inside of illustrator or photoshop. That way when you are starting a new file, you can open up what you've already saved as an A7 card, A9, etc.